Step By Step Guide
Decorating your little one’s space can be so rewarding, and hanging wallpaper is easier than ever with our paste-the-wall designs. Follow these simple steps to achieve a professional-looking finish and transform your kids' rooms effortlessly!
Watch the Installation Video or follow our complete guide outlined below.
Wallpaper Installation Video
Step by Step Installation Guide
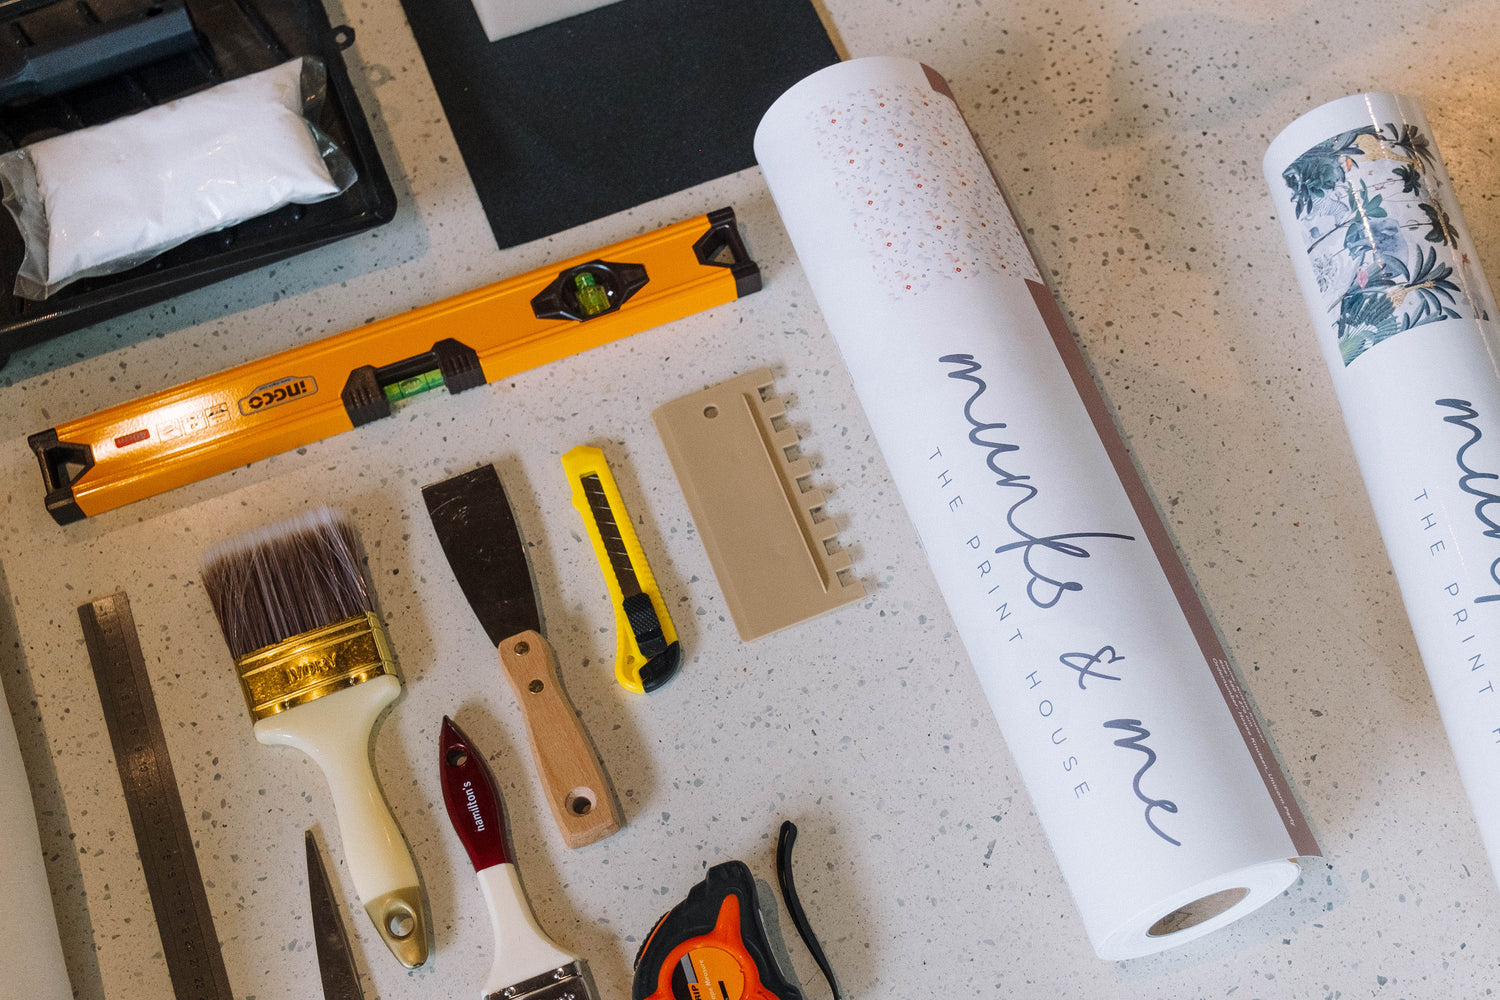
Tools Required:
Munks and Me Wallpaper
Paint roller & tray - to paste the glue onto the wall
Paintbrush – for the areas that the roller misses, e.g.: along the ceiling and skirting boards
Bucket with water and a cloth
Wallpaper paste - please choose one suited for non-woven wallpapers
Wallpaper smoother or brush
Stanley knife/Craft blade
Spirit level or plumb line - to make sure the wallpaper is straight
Steel ruler - to make a straight, clean cut along the top and bottom
Wallpaper sponge - soft cloth or sponge, preferably a cellulose sponge
Pencil
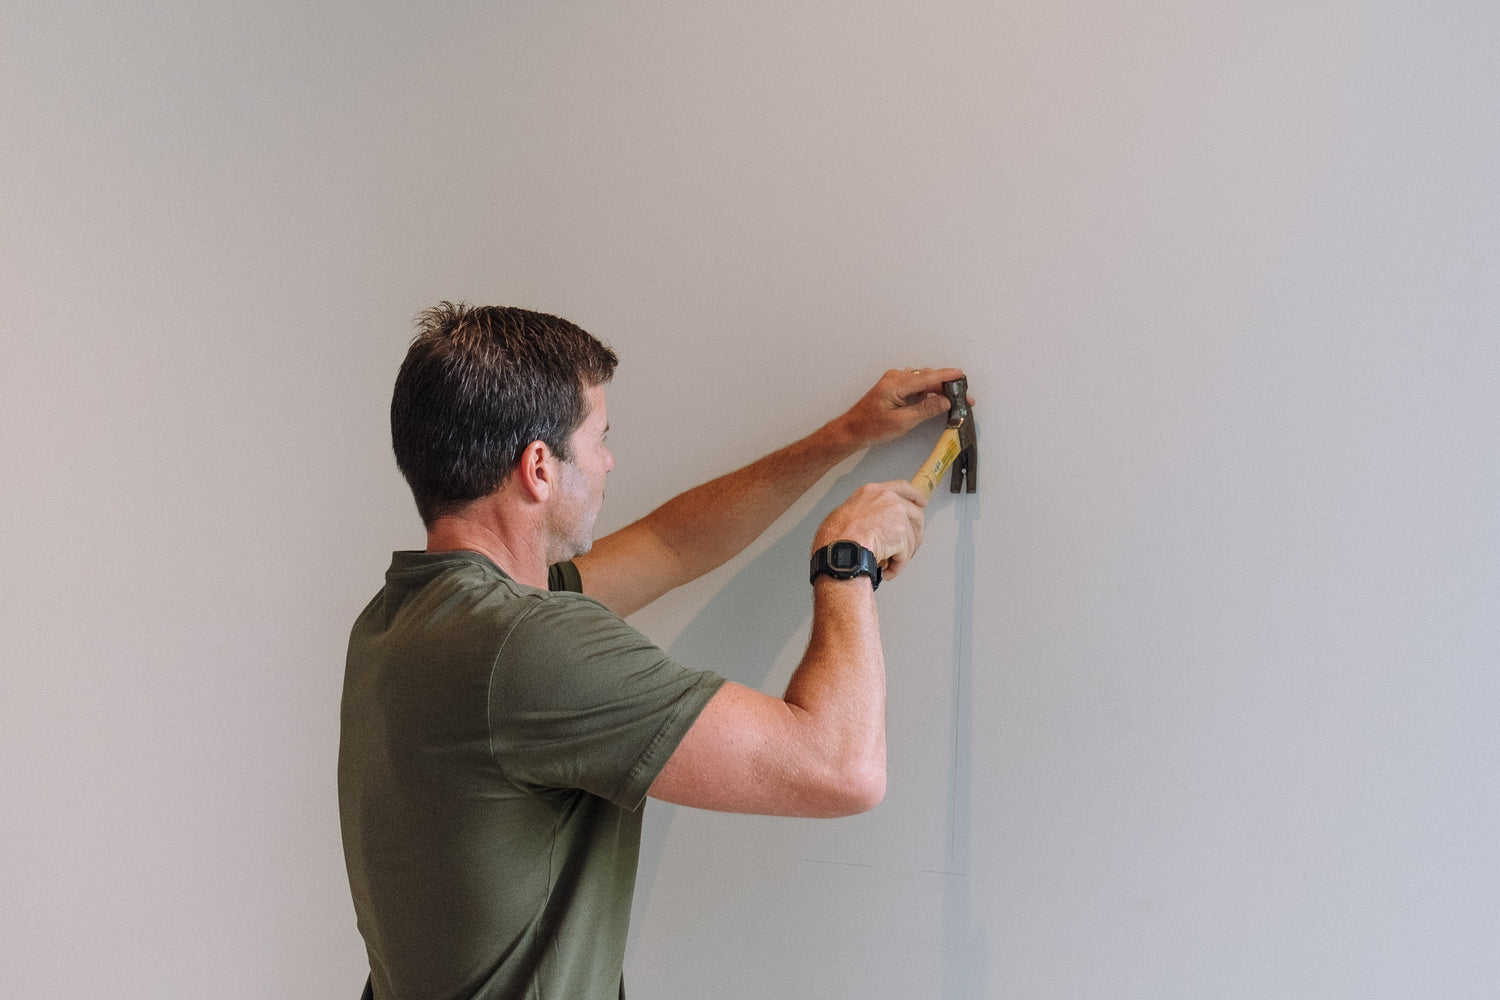
Prepare your Wall:
Preparing your wall is key to ensuring a perfect installation, so please follow the below steps carefully.
Remove any nails or screws from the wall and fill any holes with Spackle/Polyfilla
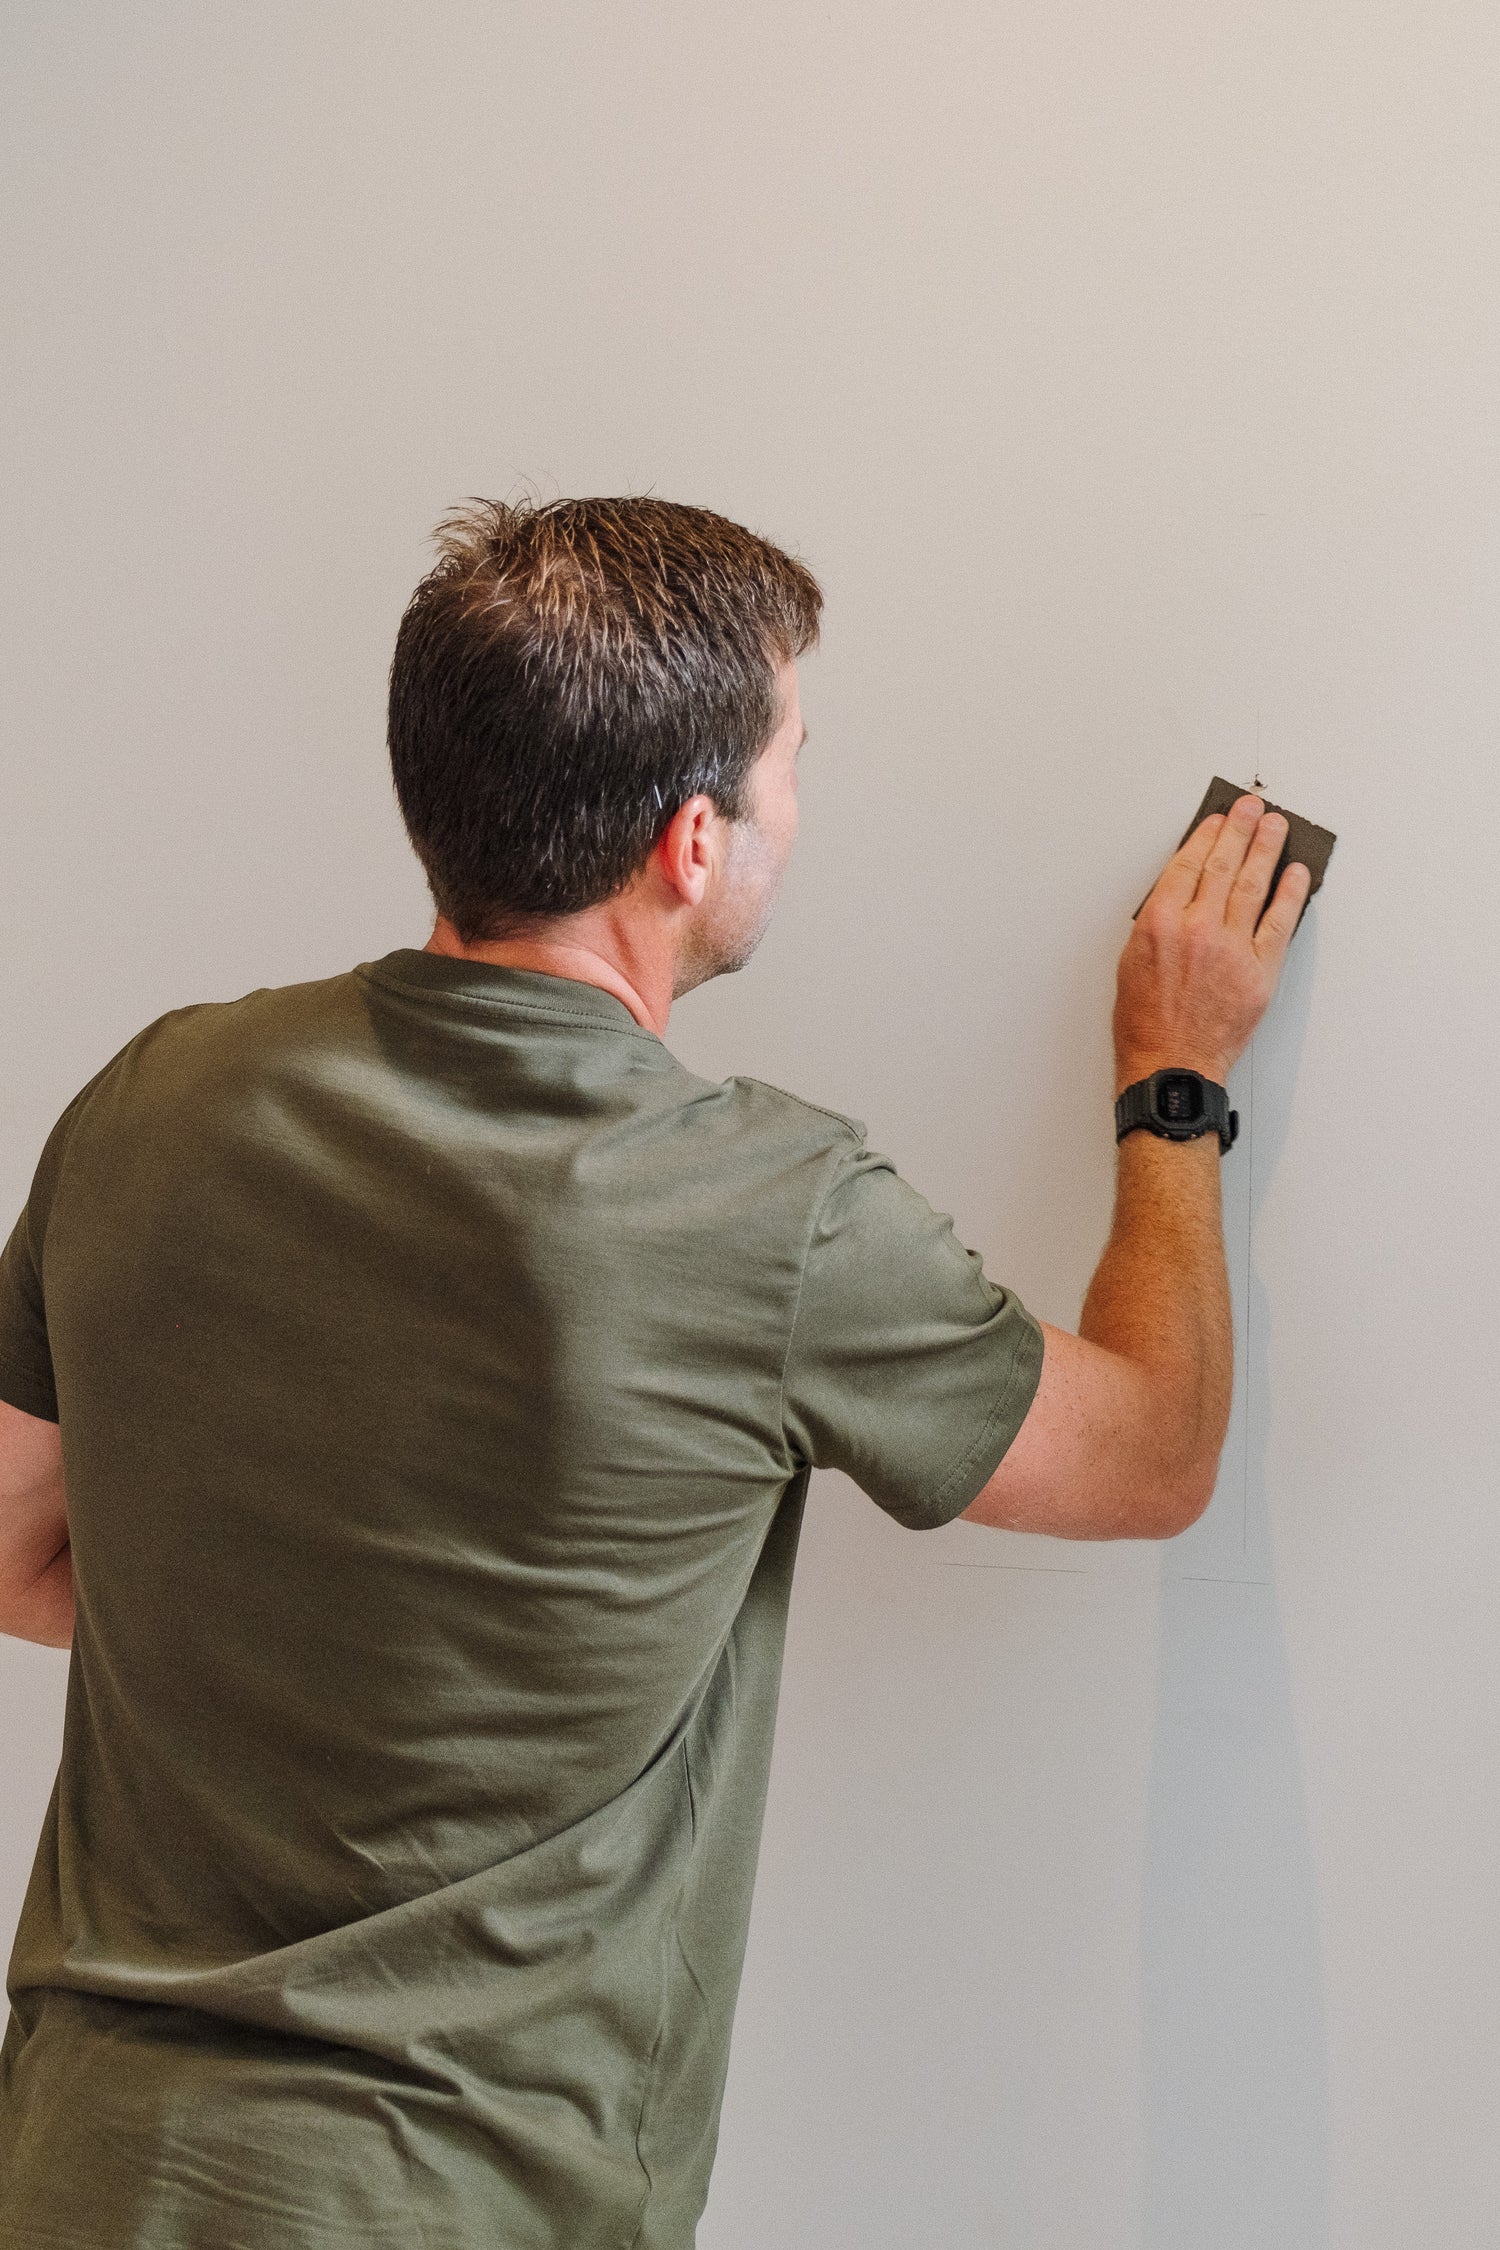
Once the Spackle/Polyfilla is dry, sand and smooth the surface
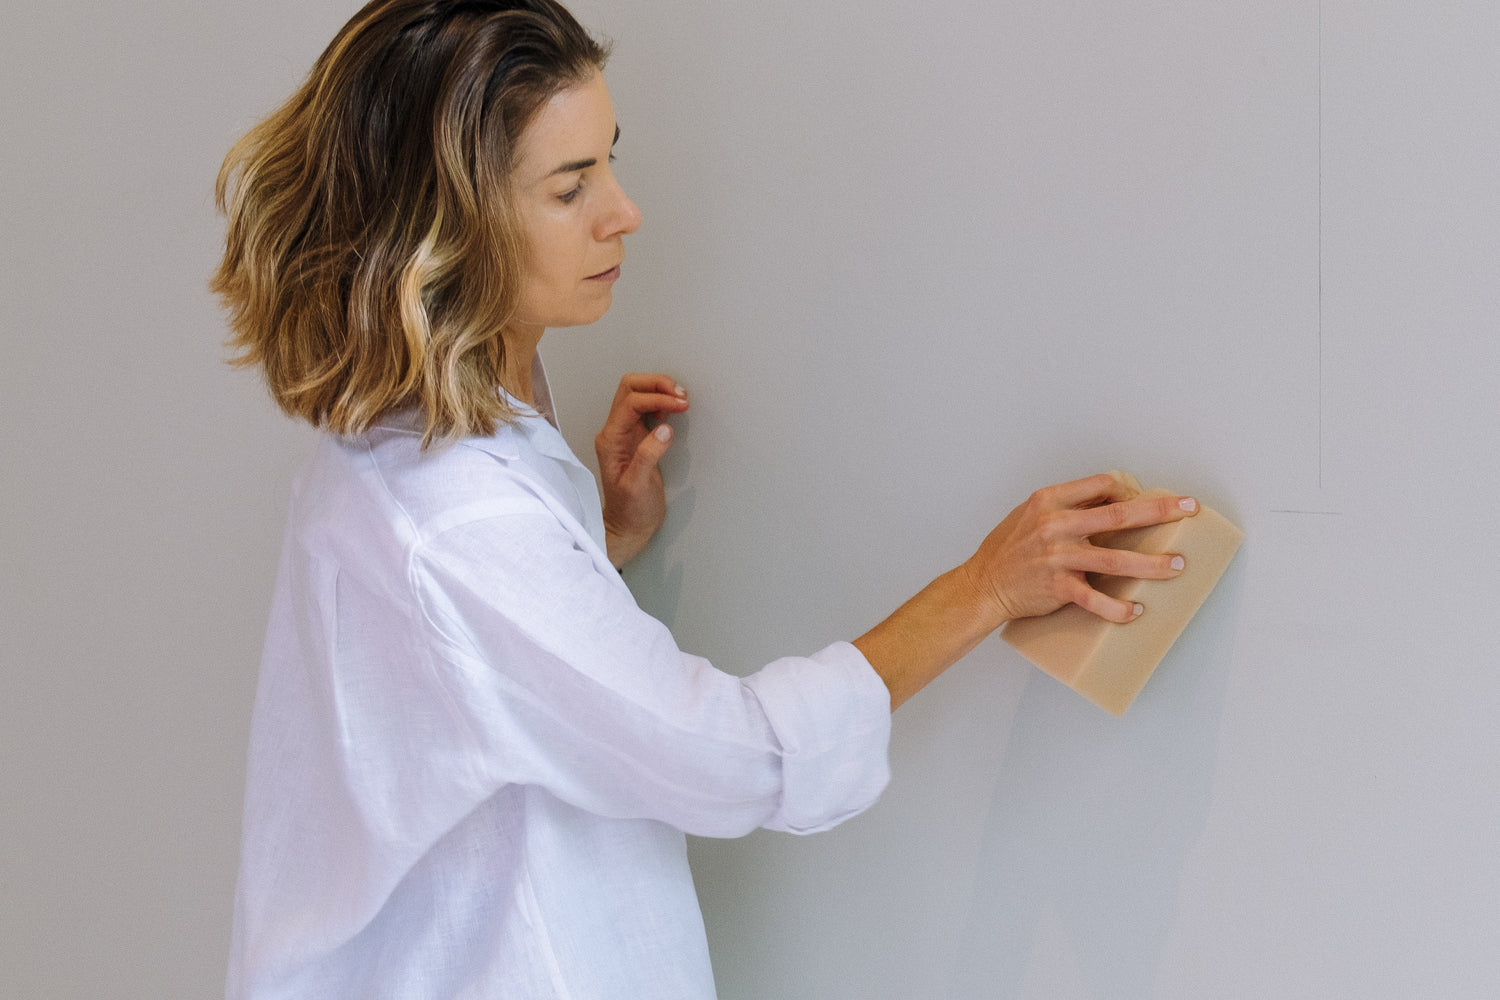
Wipe the smoothed surface with a damp cloth or sponge to remove any dust from sanding
Walls should be plastered and painted white with a high-quality primer. Walls painted with a dark colour paint will influence the colour of your wallpaper (particularly if your wallpaper is light in colour), so a white wall is the best option
Your wall should be smooth, clean and dry. Lumps and bumps on the wall, as well as any dark markings on the wall will show through, and damp walls will not allow the adhesive to work properly, which may cause your wallpaper to lift over time
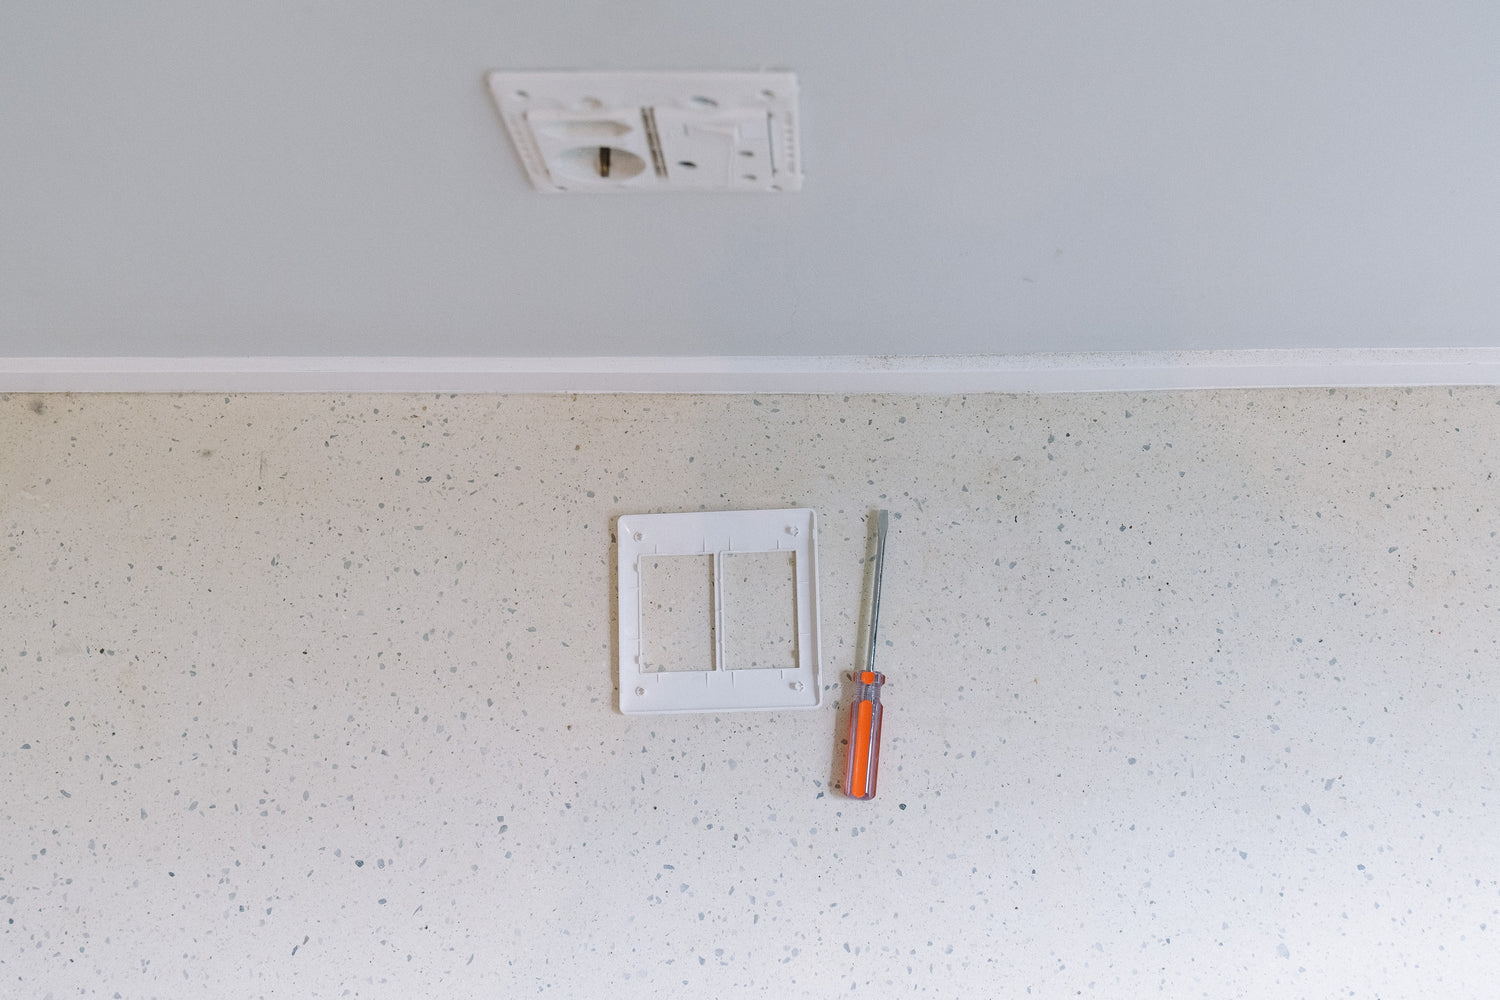
Turn off your electricity at the mains, before carefully removing any plug socket and light switch covers. These will be put back on once the wallpaper has been applied. This is not completely necessary as you can also trim around the sockets if you prefer but allowing the wallpaper to go slightly under the socket cover before putting the cover back on is very neat and tidy, but it is completely up to you
Your wall is now ready for installation
Installation
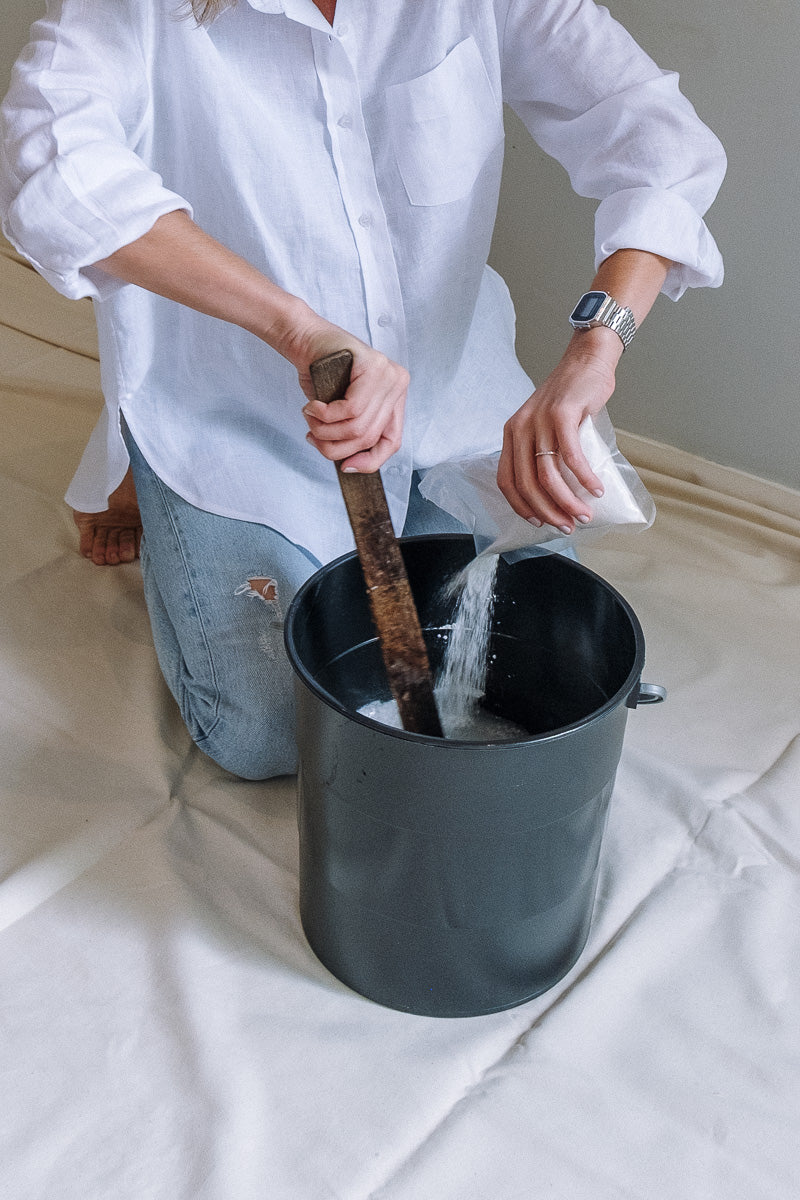
Mix your paste in the bucket and allow to sit while you prepare the panels
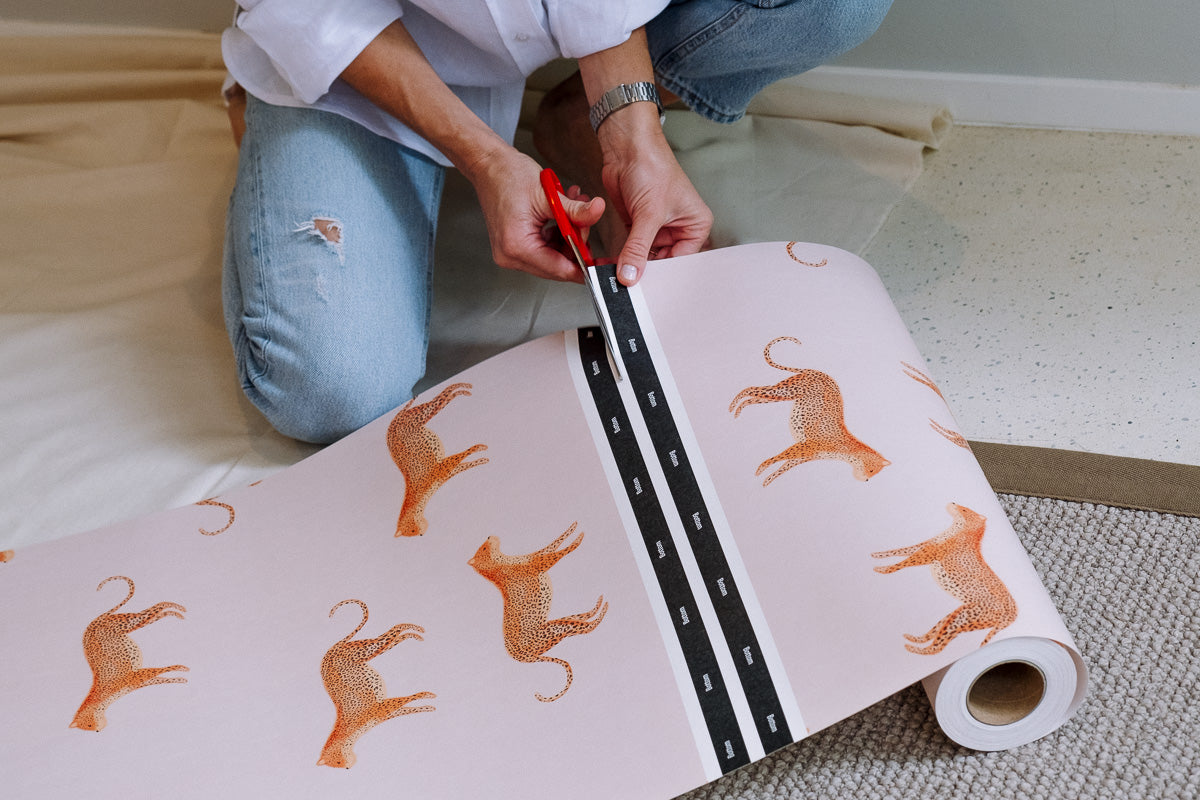
Unroll your wallpaper and trim off each panel labelled Panel A, B, C etc, as indicated by the dotted line and the scissors cutting symbol
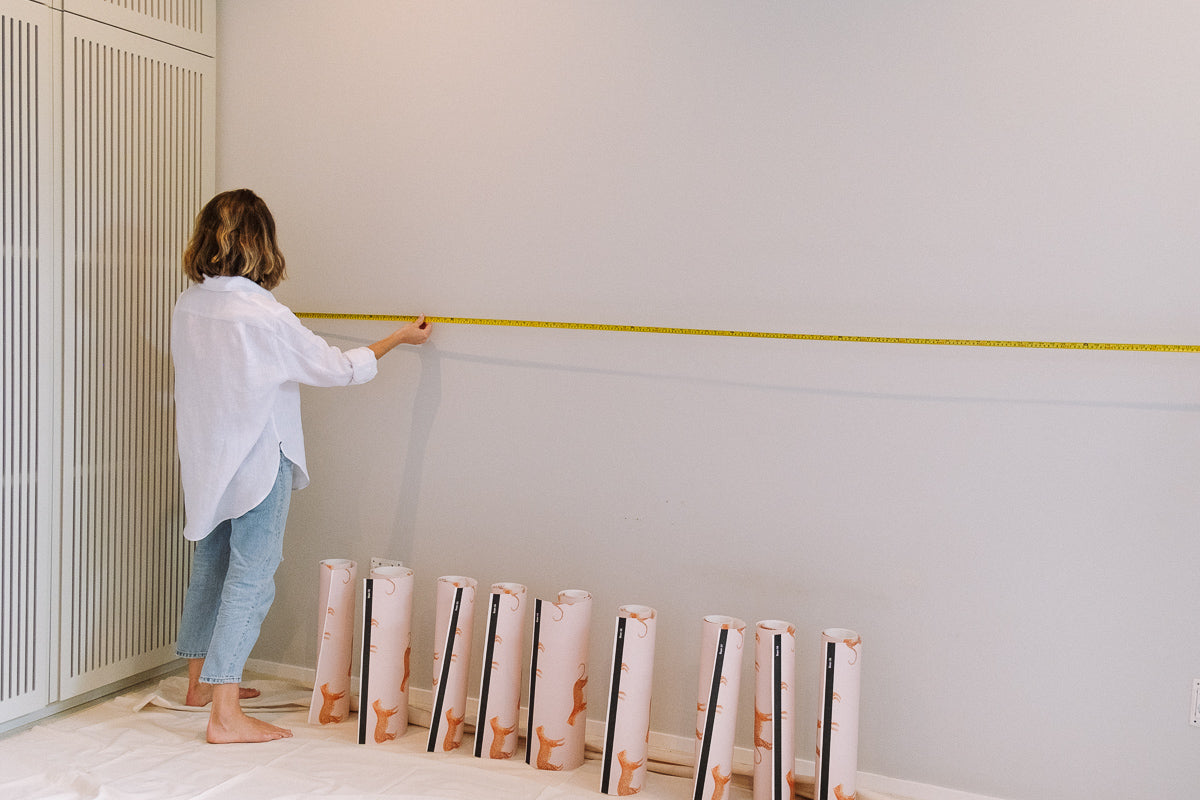
Lay the panels with the print facing upwards in alphabetical order starting with Panel A
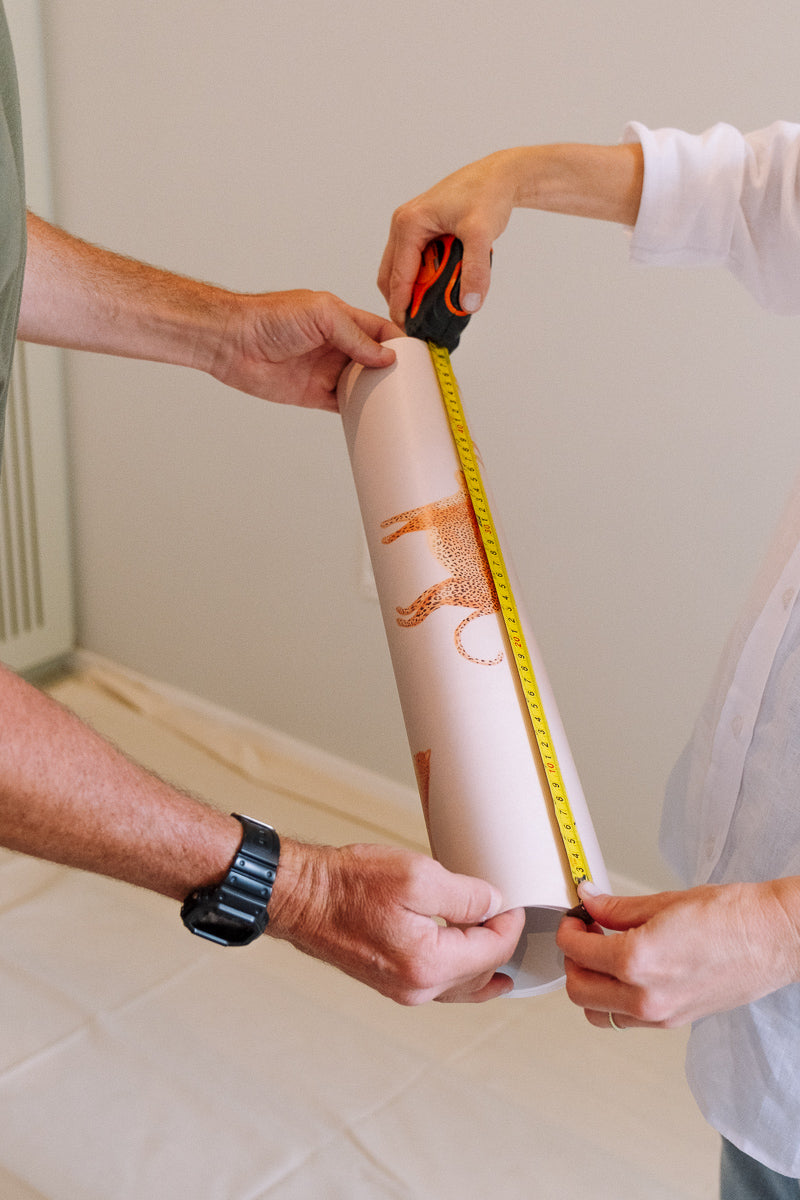
Check that none of your panels are damaged or defective
Our panels are hung left to right starting with Panel A on the left side of your wall. Our panels are butt joined meaning there is no overlapping, the panels are joined edge to edge matching the pattern
It is essential that the first panel is perfectly straight, so measure the exact width of Panel A, the subtract 2cms. Using that measurement, measure from the left side wall and mark a small pencil dot/mark
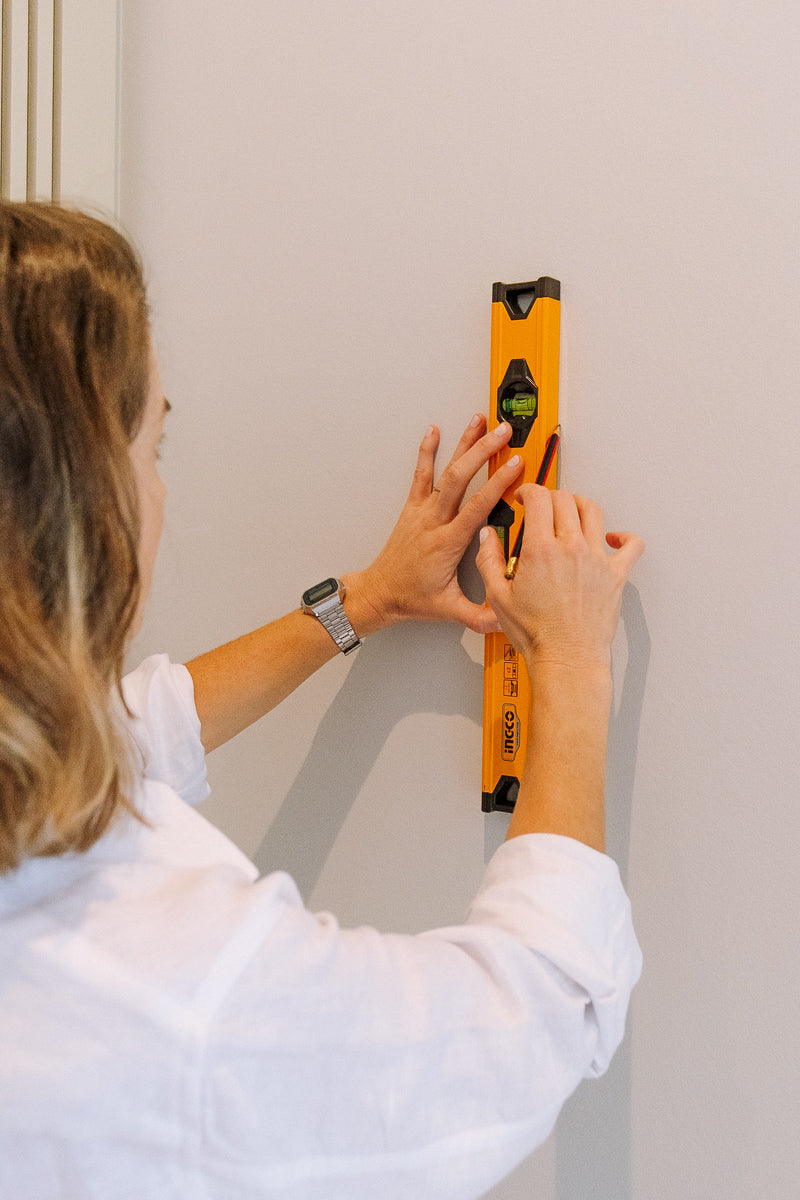
Place your spirit level on the mark vertically, and making sure the level is perfectly straight, using the level, draw a light pencil line for you to line up the right-hand side of Panel A to
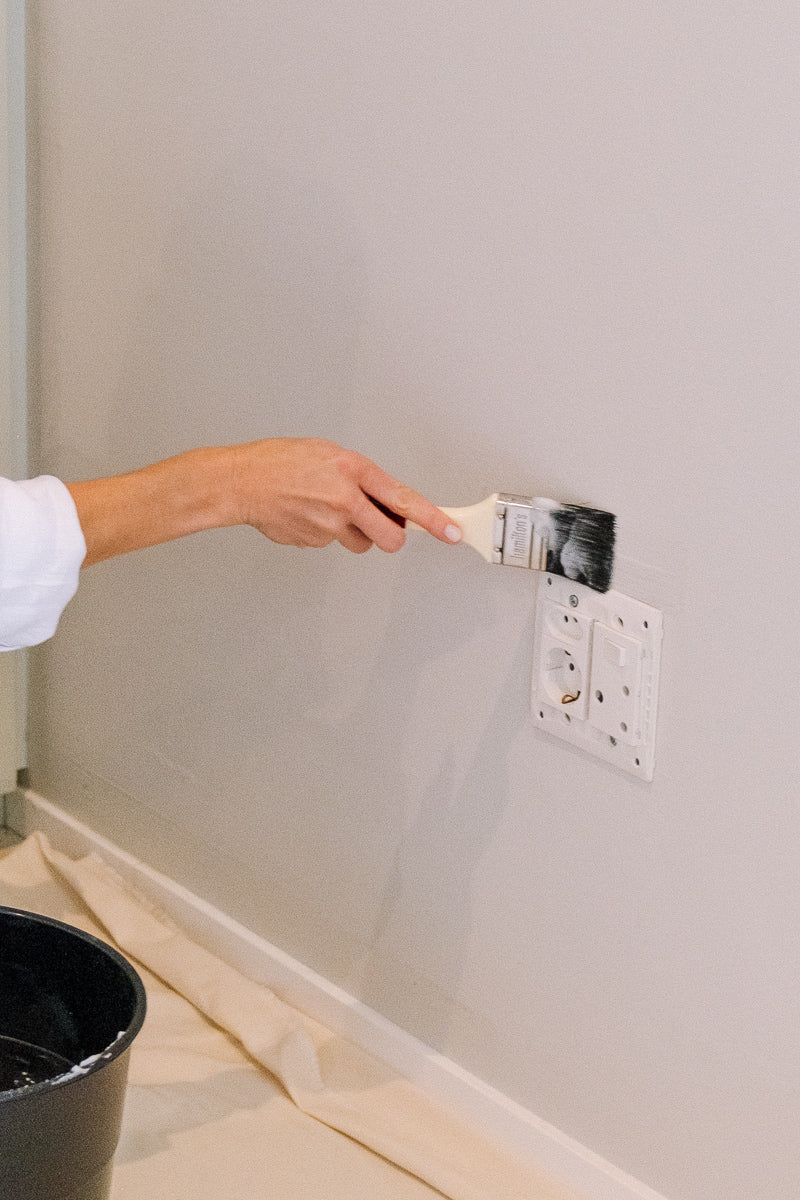
Apply the paste straight onto the wall using your paintbrush on the top, bottom and left edges to make sure it reaches right into the edges, then using your paint roller, roll the paste onto the rest of the area up to the pencil line and approximately 40cms over the line in preparation for the next panel
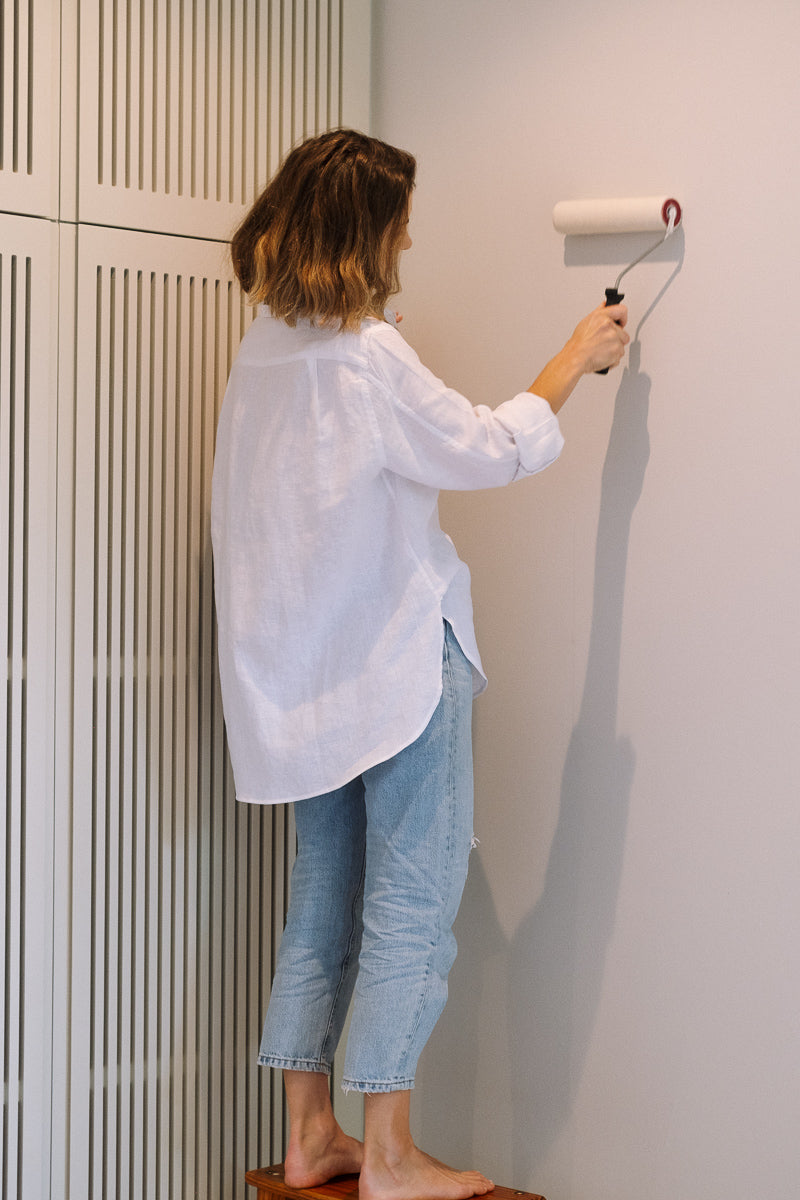
Be sure to evenly cover the entire surface with the paste, any missed areas may cause the paper to lift or bubble
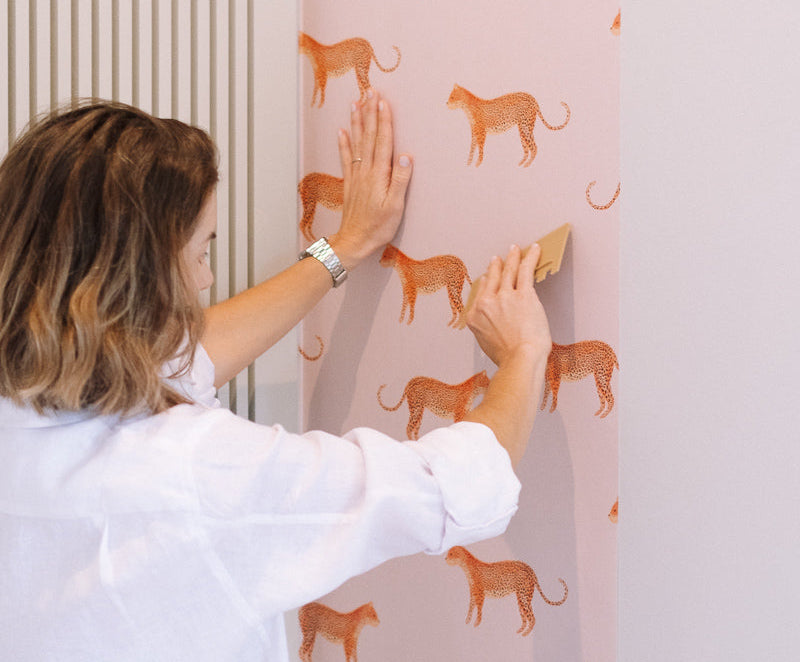
Apply Panel A making sure that there is a little left at the top and bottom to trim off later once dry, lining up the right-hand edge of the panel with your pencil drawn plumb line
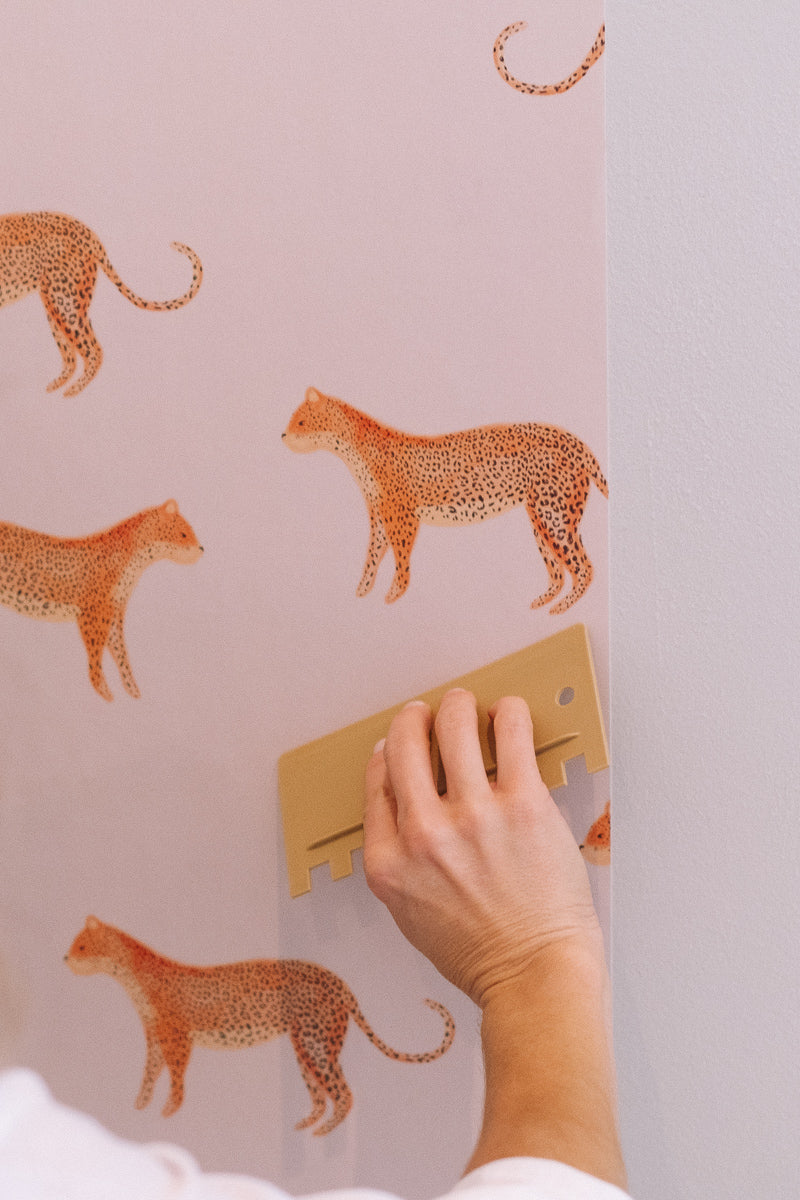
Using your wallpaper smoother or brush, smooth over the panel pressing down to ensure an even application. Work from the ceiling to the floor and from the center out to the edges. Press into the edges of the wall, skirting and or ceiling coving with your brush or smoother, to make sure it sticks right onto the edges
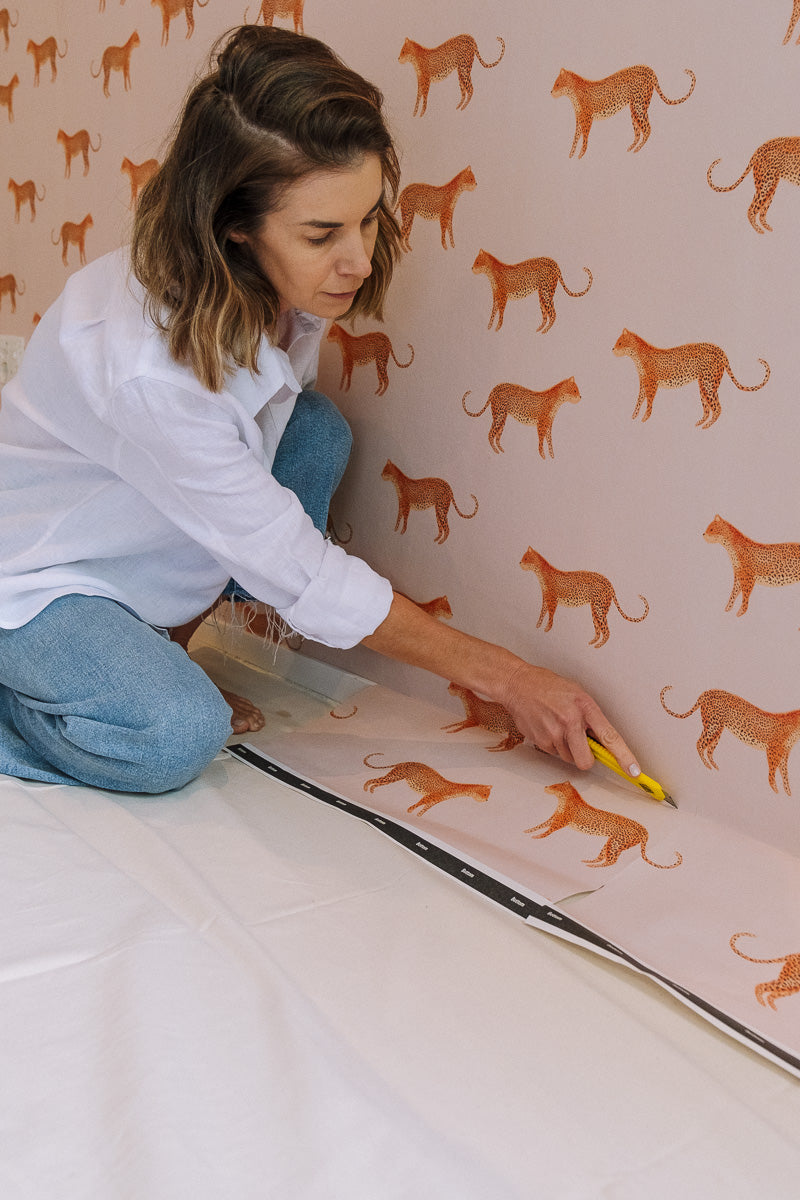
Start steps 9 – 12 again, gently and evenly pressing the panels together so there are no visible seams
Try not to get any paste onto the front of the wallpaper. Any excess paste should be removed immediately using a damp cloth/sponge
Once all the panels have been applied, starting back at Panel A, trim off any excess wallpaper from the edges, ceiling and floor using a sharp blade and metal ruler or straight edge, to avoid the paper tearing
Keep the room at room temperature and ventilated for 24hrs to allow the adhesive to dry properly
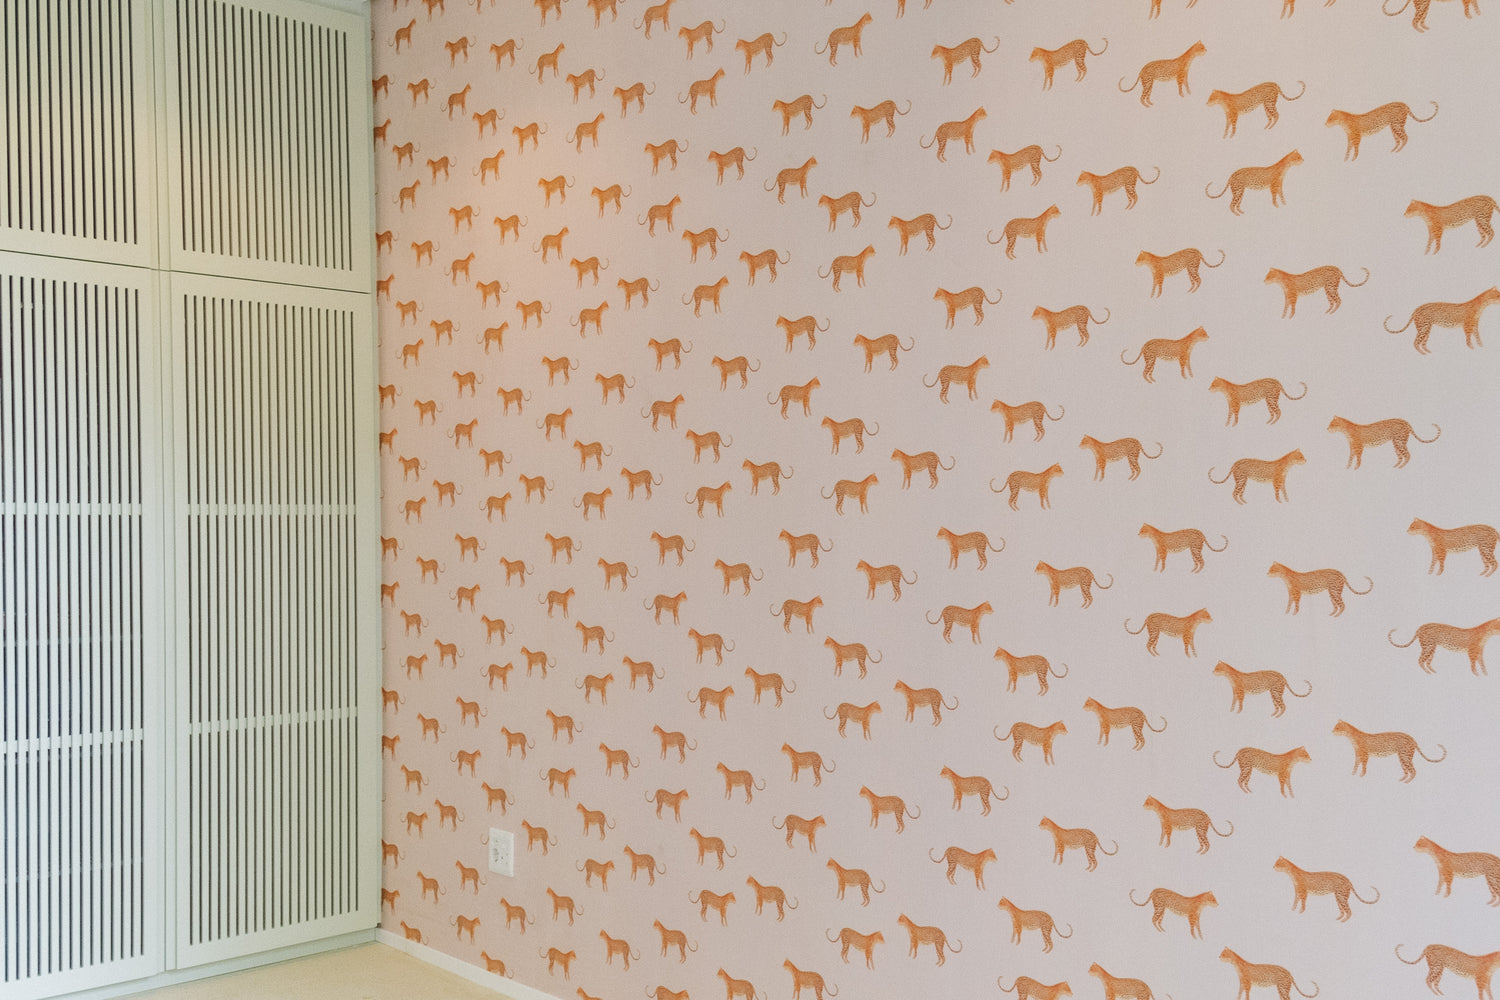
Congratulations, you are DONE - We hope you love your wallpaper!
Helpful Info To Note
How to get the wall measurements correct?
All our wallpapers are made to order, so please make sure you double check your measurements before putting them in or emailing them to us. Remember to always add 8 - 10 cm's to the total height and width to allow for trimming. Should any orders need to be reprinted as a result of incorrect measurements being provided, we will not be responsible for any additional charges on the reprint or removal/re-installation.
When must I book the decorator?
If you are using a Decorator, please do not book them until your order has arrived. We understand that Decorators are busy and you may miss your ideal install date however, sometimes things happen that are out of our control, which may alter the delivery date. It is for this reason that we advice ordering the wallpaper early, then booking your decorator when the order arrives. We will not be held responsible for reimbursing Decorator Fees.
What if I receive damaged or incorrect wallpaper?
Printing wallpaper is a technical and advanced process, and on rare occasions, mistakes can be made. If you have received damaged wallpaper or the wallpaper is incorrect please contact us immediately.

